The Art of Salad Food Photography: A Complete Guide
The Art of Salad Food Photography: A Complete Guide
Salad photography presents unique challenges and opportunities for food photographers. These vibrant, textured dishes can look incredibly appetizing when photographed well, but they can also appear wilted and unappetizing if not handled properly. This guide will walk you through the essential techniques for capturing stunning salad images that make viewers want to reach through the screen.
Understanding the Challenge
Salads are notoriously difficult subjects in food photography. Fresh greens begin wilting under hot lights within minutes, dressings can make ingredients look soggy, and the natural chaos of mixed ingredients can appear messy rather than appetizing. Success requires quick work, careful preparation, and smart styling choices.
Essential Preparation
Timing is Everything
Work quickly once your salad is assembled. Have your camera settings dialed in, your lighting positioned, and your composition planned before you dress the salad. Many photographers shoot the “hero shot” within the first two to three minutes of assembly, as this is when ingredients look their freshest.
Keep Ingredients Cold
Store all salad components in the refrigerator until the last possible moment. Some photographers even keep a bowl of ice water nearby to quickly refresh herbs and greens between shots. Cold ingredients stay crisp and vibrant longer under lights.
Consider Shooting Components Separately
For complex salads, photograph individual ingredients or small groups separately, then combine them in post-processing if needed. This gives you more control and ensures each element looks its best.
Lighting Techniques
Natural Light is Your Friend
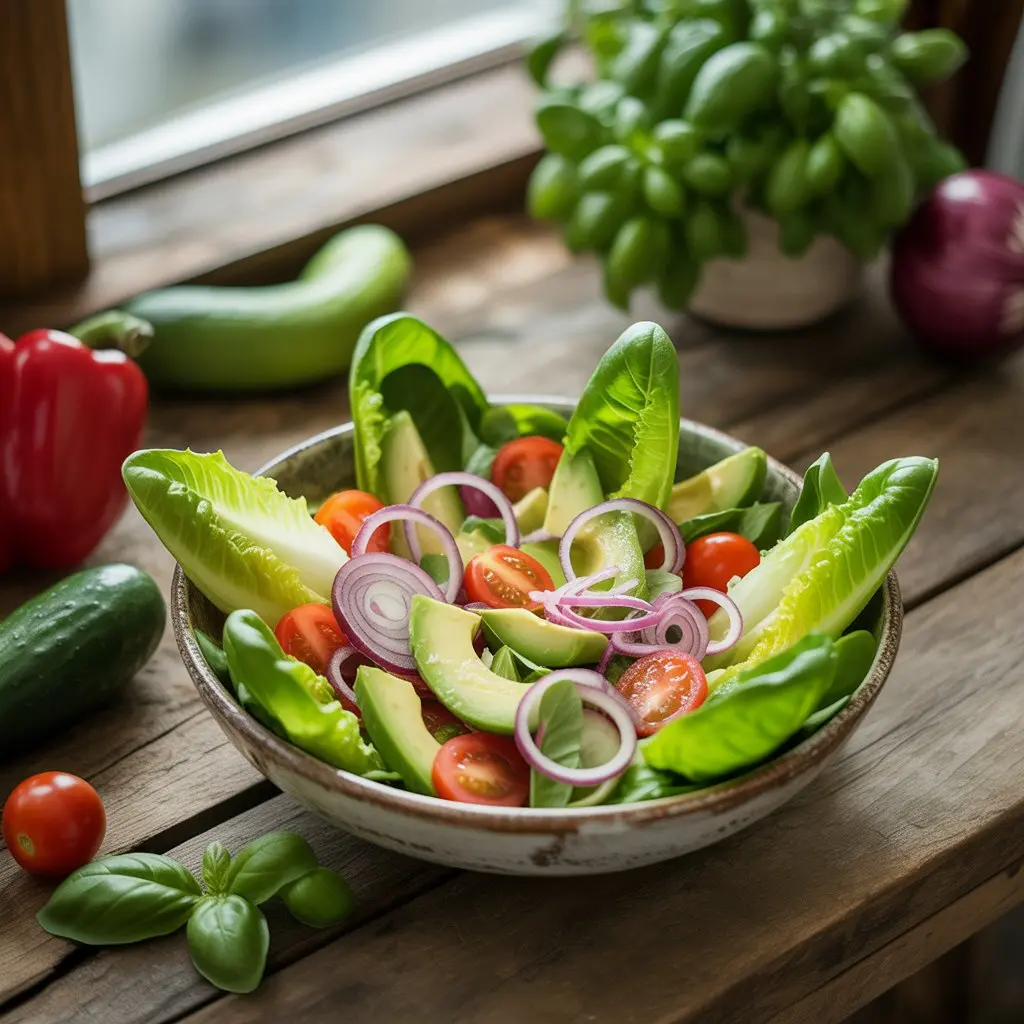
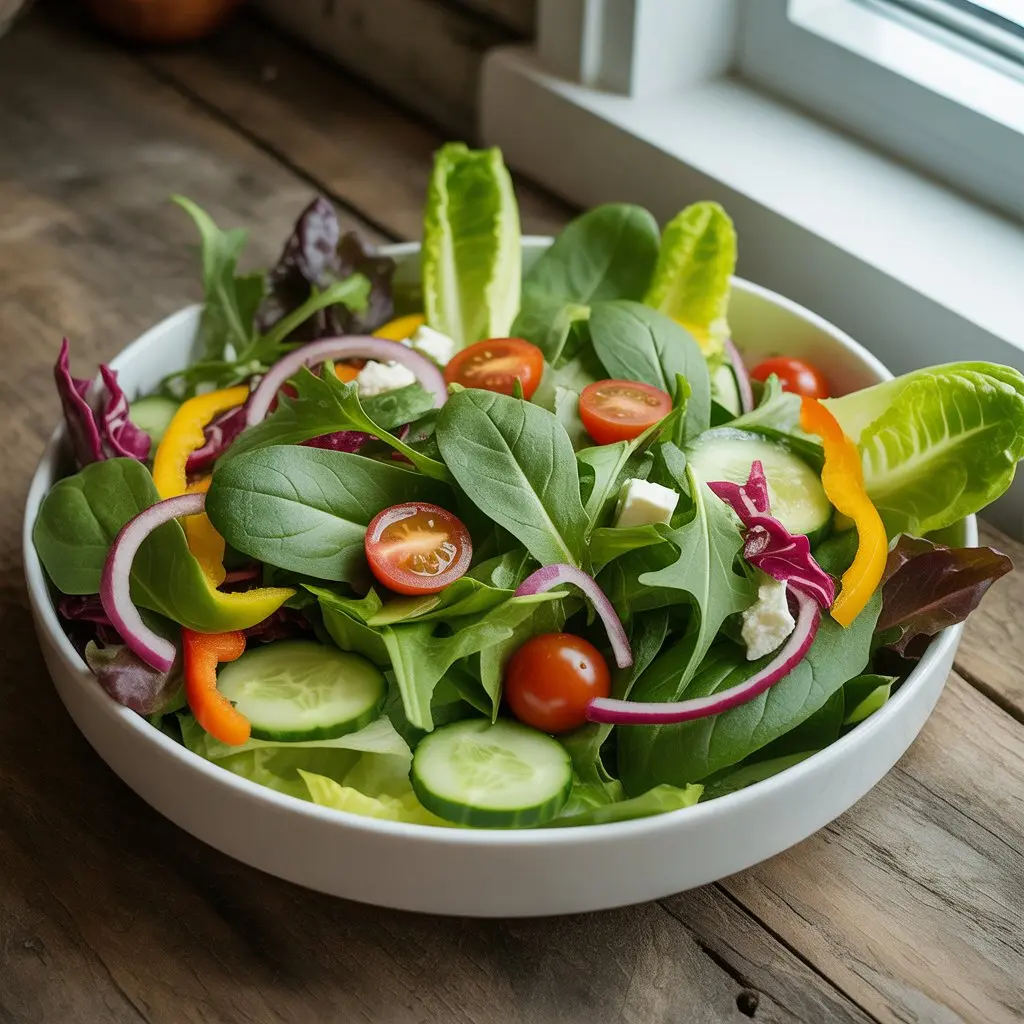
Salads often photograph beautifully in soft, natural window light. Position your setup near a large window with diffused light (cloudy days are ideal). The gentle illumination enhances the natural colors of vegetables and creates appealing shadows that add depth.
Backlighting for Translucence
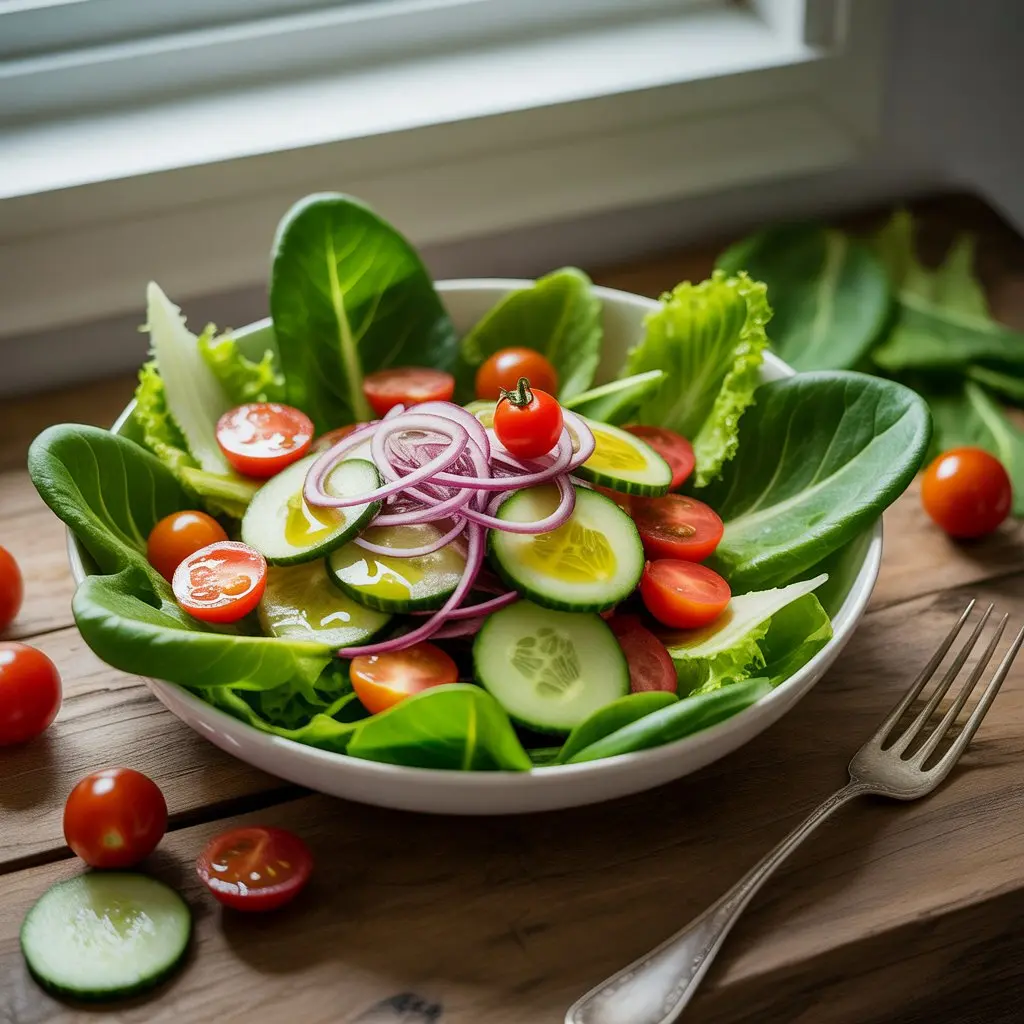
Position your light source behind or at a 45-degree angle to the salad to create beautiful translucence in lettuce leaves, cucumber slices, and other lighter ingredients. This technique adds dimension and makes the salad appear fresh and crispy.
Avoid Harsh Overhead Lighting
Strong overhead lights can create unflattering shadows in the valleys between ingredients and accelerate wilting. If using artificial lights, keep them diffused and at a moderate distance.
Composition and Styling
The Bowl Matters
Choose bowls and plates that complement but don’t overpower your salad. White and neutral-colored dishes typically work well, allowing the vibrant colors of the salad to take center stage. Consider the depth of your vessel—shallow bowls often photograph better than deep ones, as more of the salad remains visible.
Create Height and Dimension
Don’t flatten your salad. Use tongs or chopsticks to gently lift and arrange ingredients, creating peaks and valleys that catch light interestingly. This adds visual interest and makes the salad appear more abundant.
Strategic Ingredient Placement
Position your most photogenic ingredients—vibrant tomatoes, perfectly grilled chicken, colorful edible flowers—where they’ll be most visible. Think about color distribution; avoid clumping all the red ingredients in one area, for example.
The “Messy Perfect” Aesthetic
While you want strategic placement, avoid arrangements that look too fussy or artificial. A few leaves spilling over the bowl’s edge or a casual scatter of seeds can make the image feel authentic and appetizing.
Dressing Dilemmas
Less is More
Lightly dressed salads photograph better than heavily dressed ones. Apply just enough dressing to add sheen without making ingredients look soggy. Consider using a spray bottle for even, light coverage.
Oil as a Beauty Treatment
A light mist of oil (using a spray bottle) can make ingredients glisten beautifully without the heaviness of dressing. This is particularly effective for creating that “just-tossed” look.
Strategic Drizzling
If you want to show dressing in the shot, drizzle it artfully just before clicking the shutter. Consider showing dressing being poured in an action shot for added interest.
Color Theory and Visual Appeal
Embrace the Rainbow
Salads offer a wonderful opportunity to showcase multiple colors. Include ingredients of varying hues—deep greens, bright reds, sunny yellows, and rich purples create visual excitement. However, ensure colors complement rather than clash.
Textural Contrast
Combine smooth, crunchy, and soft elements visibly in your composition. The contrast between crispy lettuce, creamy avocado, crunchy nuts, and smooth tomatoes adds visual interest.
Camera Settings and Angles
Aperture for Depth
Use a relatively wide aperture (f/2.8 to f/5.6) to create a shallow depth of field that makes your subject pop while softly blurring the background. For salads where you want everything in focus, try f/8 or higher.
The 45-Degree Angle
This classic food photography angle works exceptionally well for salads, showing both the top surface and the sides of the bowl. It provides context while highlighting the salad’s abundance.
Overhead Shots
Flat-lay, overhead compositions can be stunning for salads, especially those with interesting ingredient patterns. This angle works particularly well for grain bowls and composed salads where ingredients are arranged in sections.
Props and Context
Keep It Simple
Salads are already visually busy, so avoid cluttering your frame with too many props. A simple linen napkin, wooden serving utensils, or a few scattered ingredients can provide context without distraction.
Tell a Story
Include props that suggest the salad’s context—a cookbook for a recipe shot, a garden trowel for a “farm-to-table” theme, or elegant cutlery for an upscale presentation.
Post-Processing Tips
Enhance, Don’t Transform
Adjust brightness, contrast, and saturation to make your salad look fresh and appetizing, but avoid over-processing that makes colors look artificial. Greens should remain green, not neon.
Spot Healing
Remove any brown spots on lettuce, stray bits, or distracting elements that detract from the overall composition.
Sharpening for Texture
Carefully applied sharpening can enhance the crispy texture of fresh ingredients, but be cautious not to overdo it, which can make images look grainy.
Common Mistakes to Avoid
Don’t let your salad sit too long before shooting—wilted greens are the enemy of great salad photography. Avoid over-dressing, which makes ingredients look heavy and unappetizing. Don’t forget to clean the rim of your bowl or plate; any stray dressing or ingredients around the edge will show in close-ups. Finally, resist the urge to include every ingredient in every shot; sometimes simpler compositions are more effective.
Final Thoughts
Successful salad photography combines technical skill with quick thinking and careful preparation. The key is to work efficiently, understand how light interacts with fresh ingredients, and create compositions that are both beautiful and authentic. With practice, you’ll develop an intuitive sense for arranging and capturing these colorful, healthy dishes in ways that make them irresistibly appetizing.
Remember, the best salad photograph is one that makes the viewer hungry. Keep that goal in mind throughout your process, and you’ll create images that are not only technically proficient but emotionally engaging.